Applying frosted glass window film is easy and allows for privacy without compromising natural light. The house next door sits very close to mine. In fact, we have a shared driveway. Not only is privacy and issue, the house needs a paint job and isn’t that pleasant to look at.
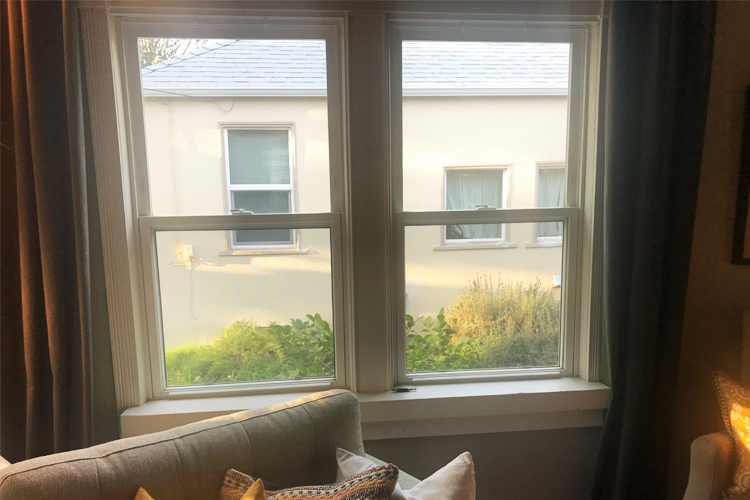
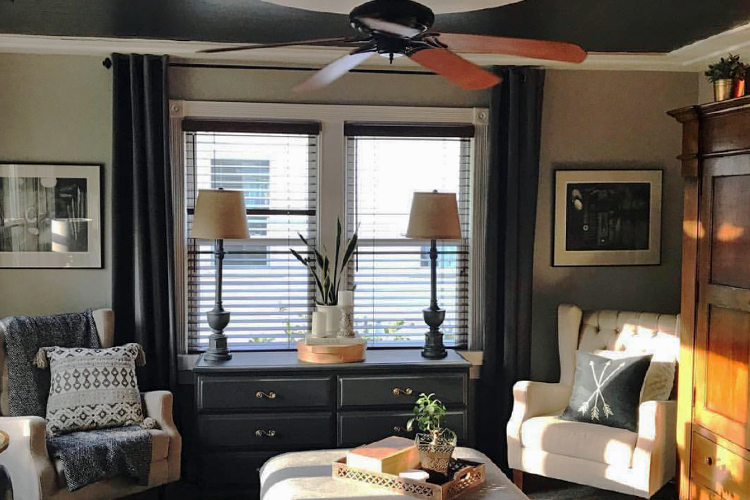
I wasn’t sure how I was going to like having frosted windows in my main living space, but I really wanted to let more natural light in the space so I was willing to take the gamble. Here is a picture of my small living room with the blinds still in place.
This post includes some affiliate links. If you click on these and make a purchase, I earn an itsy bitsy commission but it doesn’t cost you any extra.
Supplies
- Window Cleaner
- Paper Towels or Clean Rag
- Empty Spray Bottle
- Dish Soap
- Frosted Glass Window Film
Tools
- Measuring Tape
- Box Cutter
- Stiff Ruler
- Cutting Mat or Scrap Wood
- Squeegee (included with the above window film)
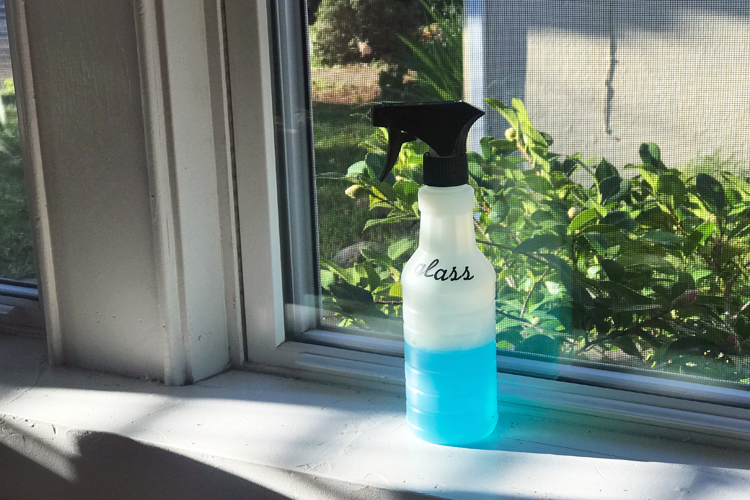
Clean the Window
It is important to clean the window really well before applying the frosted window film. This will ensure you window film application will be smooth with no bumps or air bubbles.
Measure and Cut
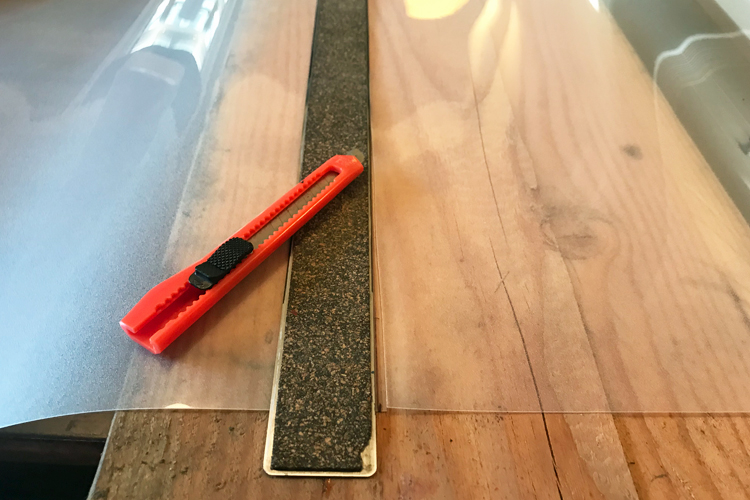
It is a good idea to measure your windowpanes before you order the frosted window film. The product comes in different sizes and you want to be sure to order yours big enough to cover the whole window. When you are ready to cut your frosted window film to size, use a firm straight edge such as a firm ruler and a sharp box cutter. Place a cutting mat or scrap board, like I did, underneath when cutting to protect your work surface.
Apply the Frosted Window Film
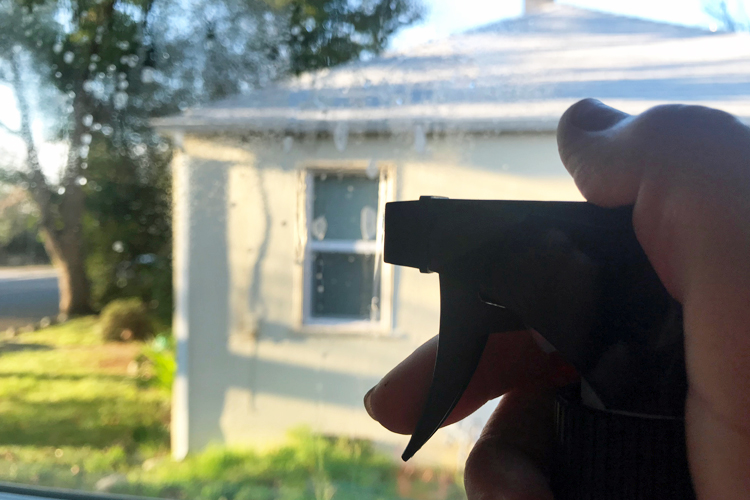
Mix three drops of clear dish soap in 8 ounces of water placed in a clean spray bottle. Spray the window with a generous amount of the soapy water. Peel the backing off of the frosted window film and place on the window. This will take two hands.
Position the Frosted Window Film
The window film will be very easy to move around once it is on the window, so know that you have time to straighten it out and get it even.
Remove Air Bubbles
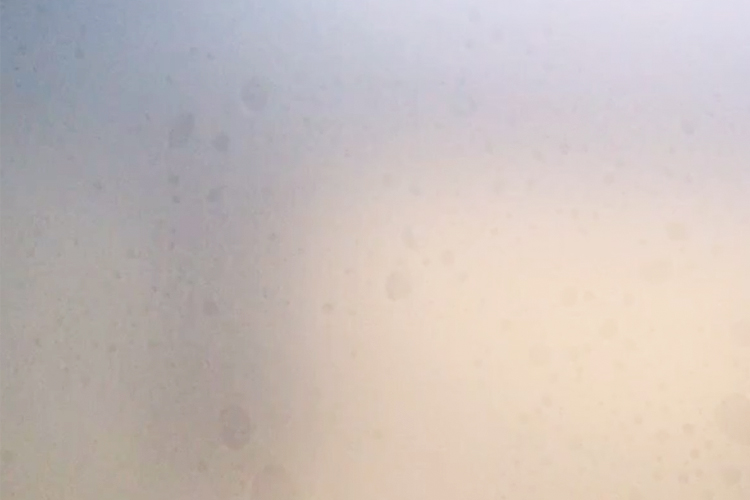
Using a squeegee or a credit card, begin pushing the bubbles out to the sides, working from the top to the bottom. Use a rag or a paper towels to wipe the excess water the squeezes out as you work.
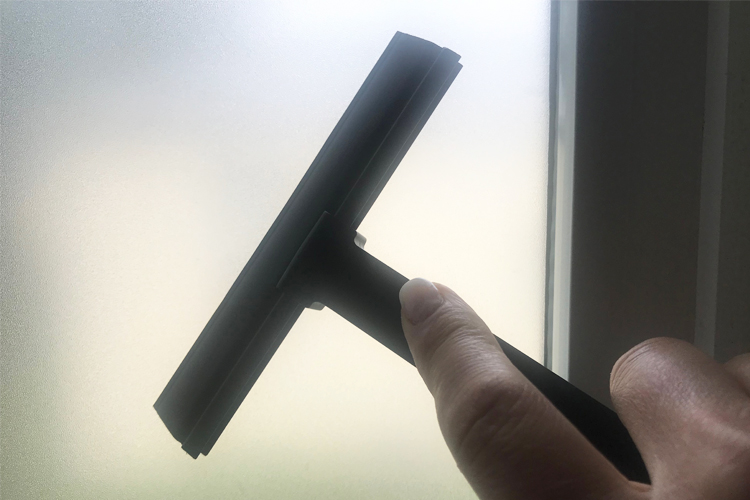
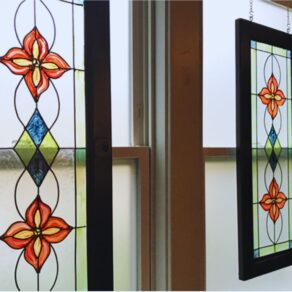
That is it! This project goes really fast and is super easy to do. I hung these faux stained glass windows in front of my window and love the overall look!
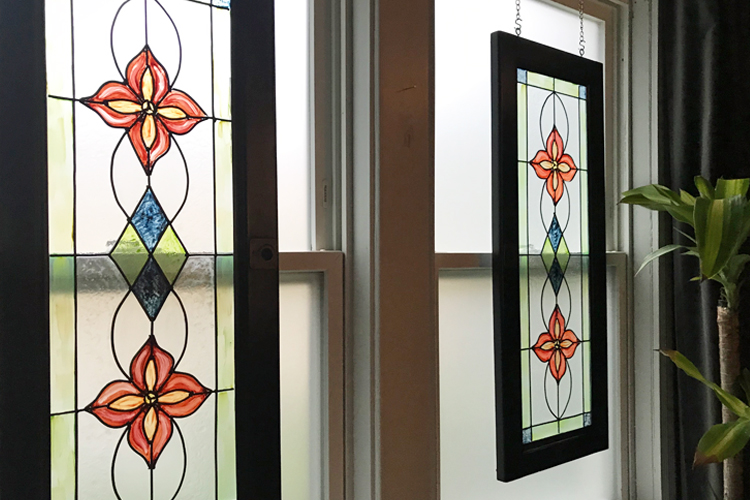
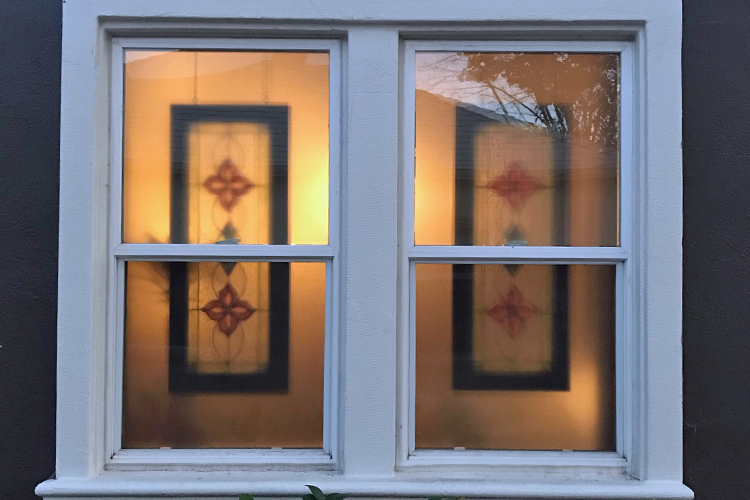
This is what the frosted window film looks like from the exterior of the room at dusk. You can see even when it is dark, you can’t see through. Let me know how you would use frosted window film.
[WD_Button id=879]
↓ Pin It ↓



Wow…looks great, would never know it’s faux! Great job!