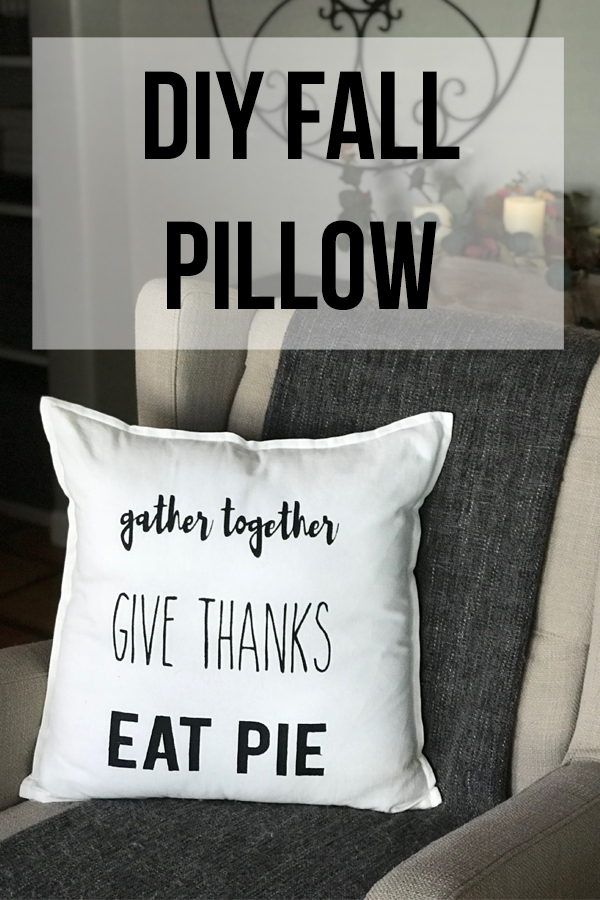
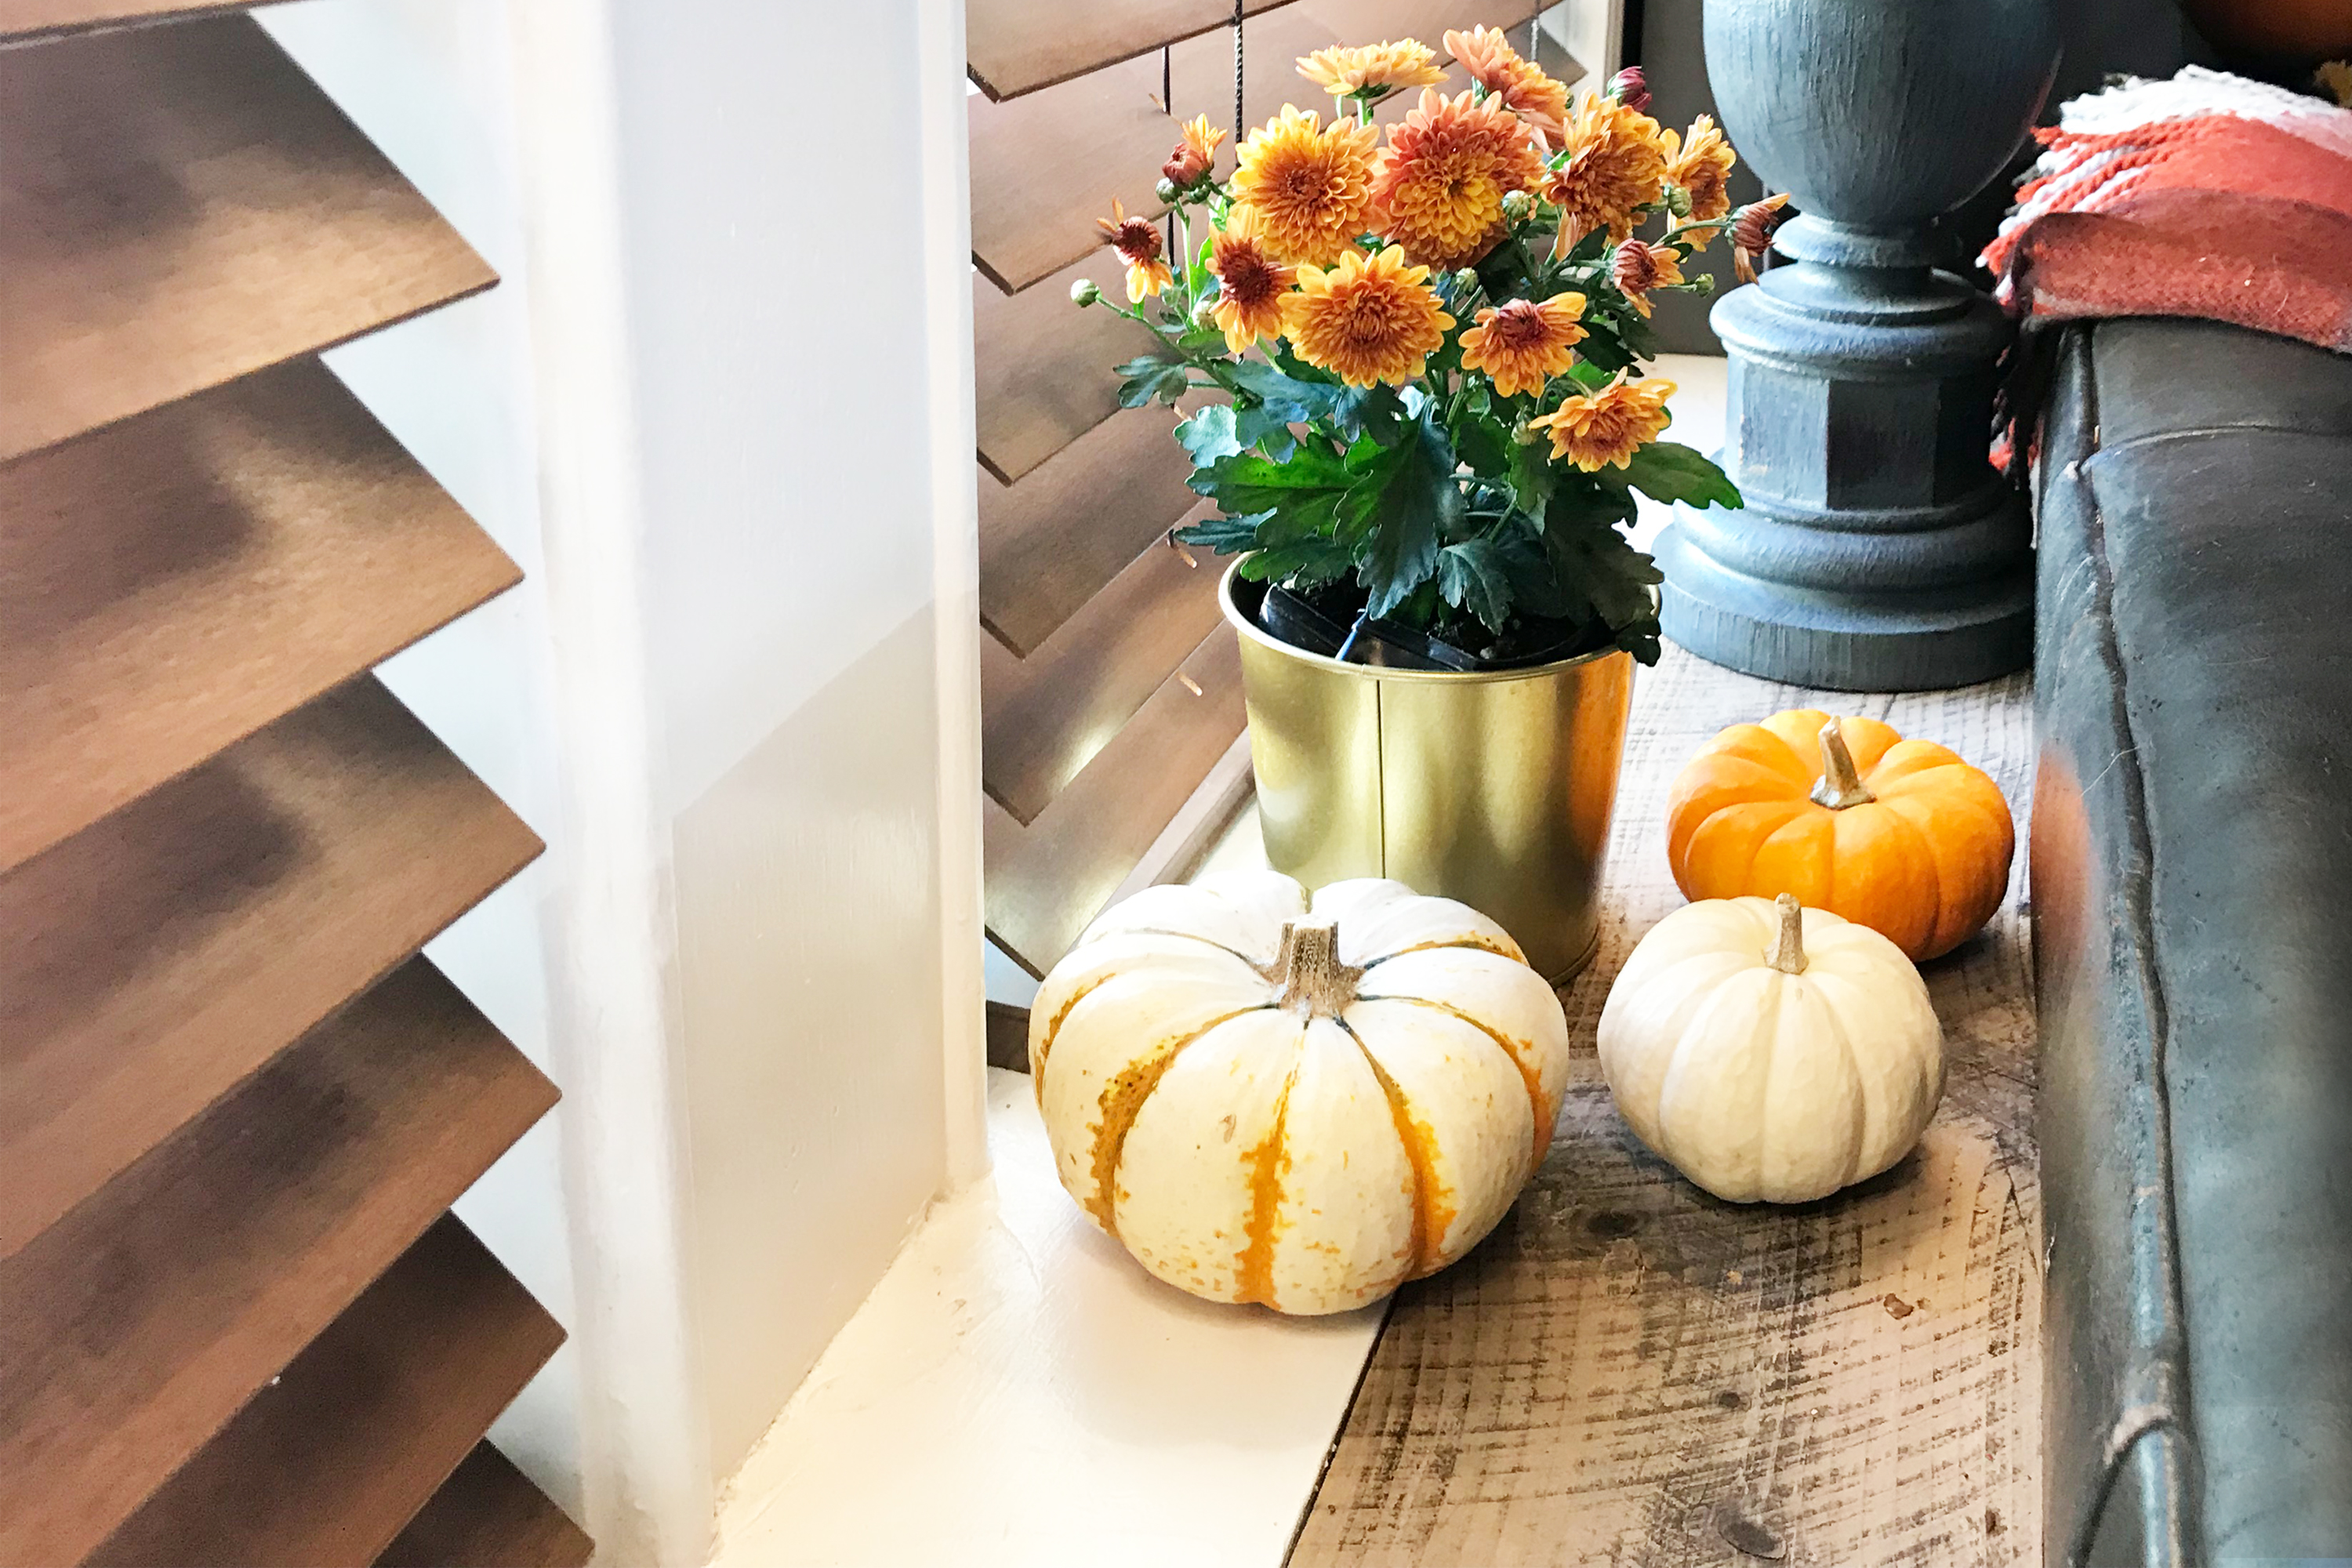
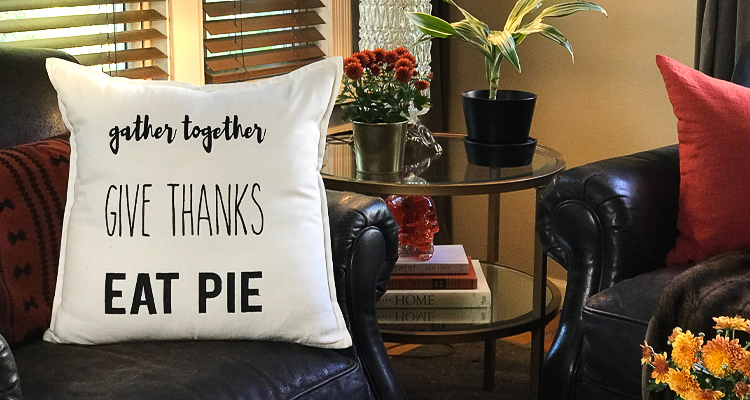
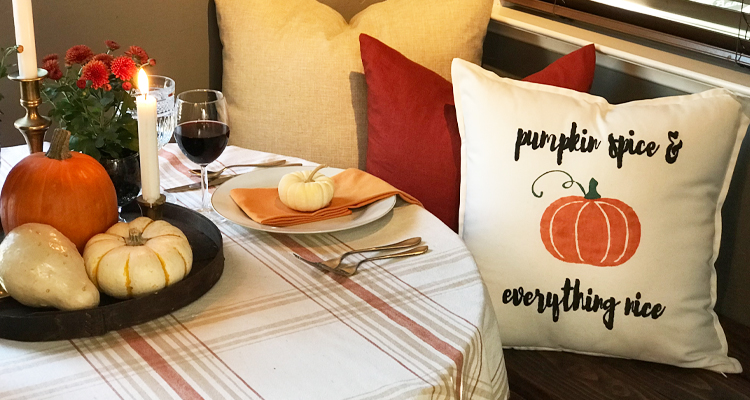
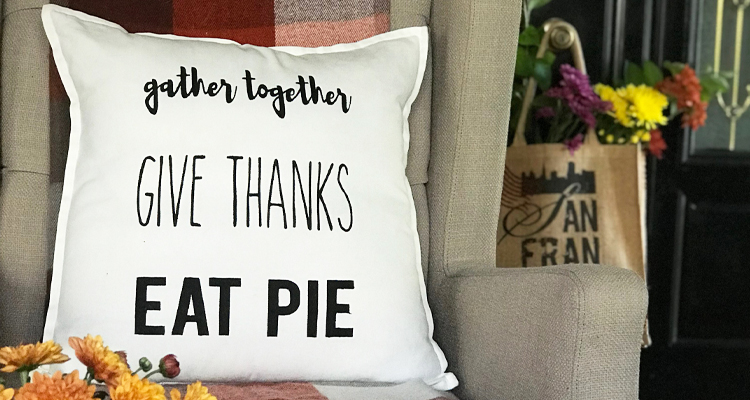
Do you love to decorate for the different seasons? If you do, then swapping out pillow covers is an affordable and effective way to do just that without breaking the bank. Plus, when are limited on storage, pillow covers become the perfect answer to embracing the season without taking up extra space. When a new season rolls around, you just swap them out, fold them up, and hide them away.

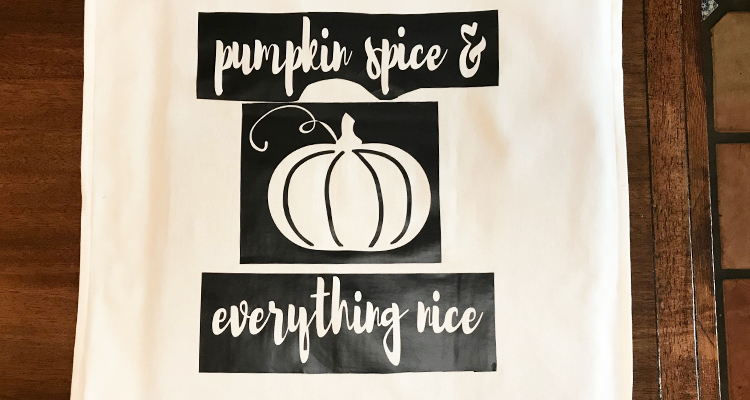
How cute would these look in your home? Well, I’ve got you covered (see what I did there?) with all the how-to below and the graphics files – for free on the Free Resources page. The download file includes an SVG cut file for you to use however you want. I made my pillows using a stencil method from a cut file I made on my Silhouette. Both the Pumpkin Spice & Everything Nice and the Gather Together, Give Thanks, Eat Pie files include a three-part stencil and here is how to do it.
This post includes some affiliate links. If you click on these and make a purchase, I earn an itsy bitsy commission but it doesn’t cost you any extra.
Supplies
Tools
- Iron
- Silhouette Machine and Accessories
- Makeup Sponges or Cotton Balls
- Small Paintbrush
- Small Plate or Bowl for Mixing
- Ruler
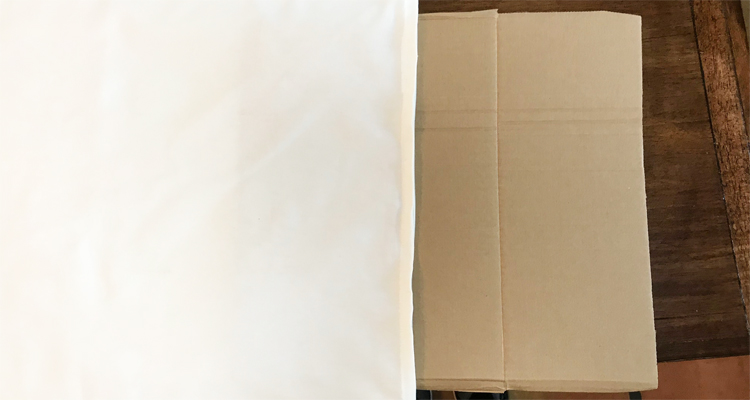
- 19 x 19 Cardboard Piece
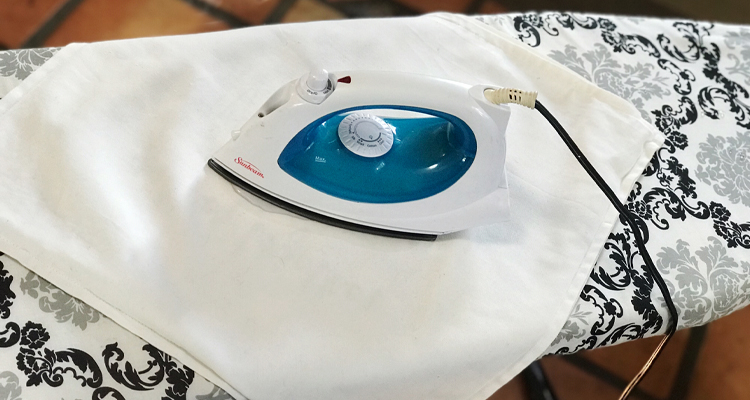
Prepare Pillow Cover
Wash, dry, and iron the pillow cover. Lay it on a flat work surface and insert the cardboard to protect the back of the pillow from the fabric paint bleeding through.
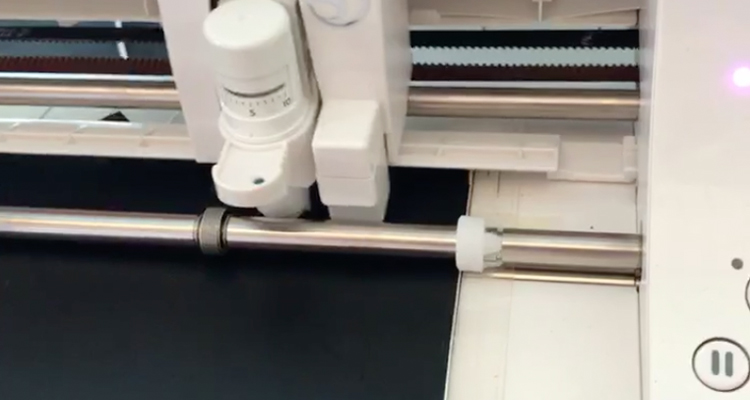
Create the Stencils
Using adhesive vinyl, cut the fall pillow stencils follow the directions and settings of your cutting machine. You can download both the “Pumpkin Spice & Everything Nice” and the “Gather Together, Give Thanks, Eat Pie” SVG cut files for free.
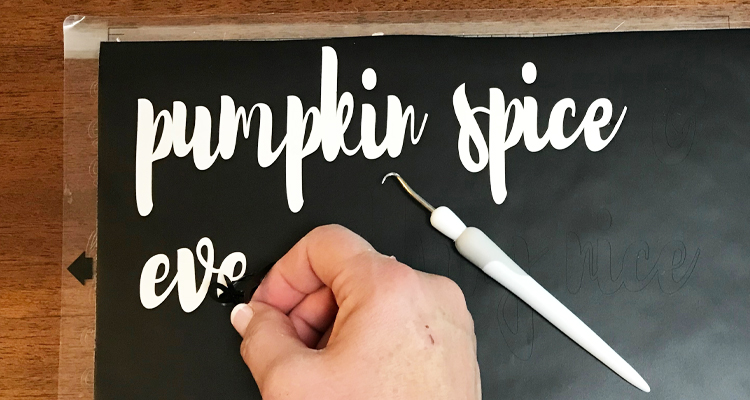
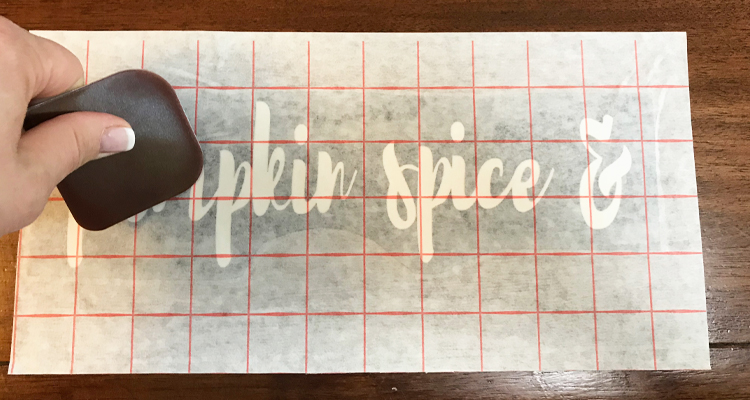
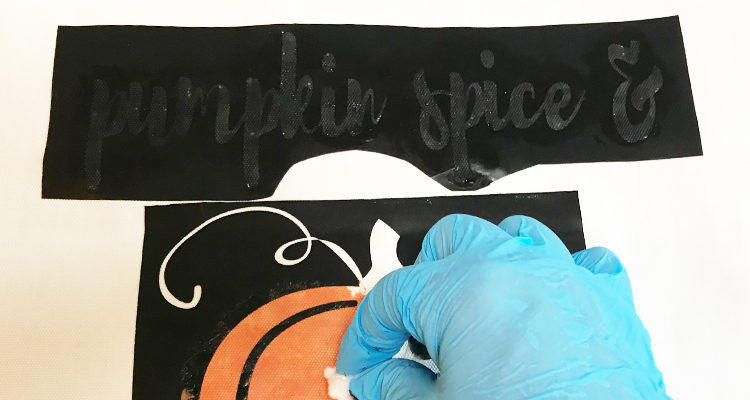
Reverse Weed
Weed (remove the letters) the adhesive vinyl to reveal the writing of your stencil. You want to do a reverse weed. Which means, you will leave the large piece of transfer vinyl intact and remove the inside of the lettering.
Move to transfer Paper
After the words are revealed for you fall pillow cover stencil, move it to transfer paper. This is going to allow you to easily place your stencil on the blank pillow cover. Transfer paper allows you to lightly manipulate its place on the cover without the stencil becoming twisted or sticking to itself.
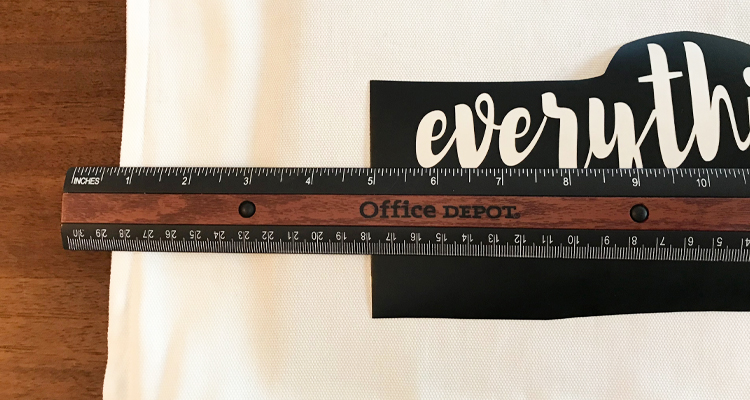
Place Stencil on Pillow Cover
Once you have all three stencils cut and moved onto transfer paper, you are ready to place the stencil on the pillow cover. Use a ruler to make sure each part is centered on the pillow and evenly spaced apart.
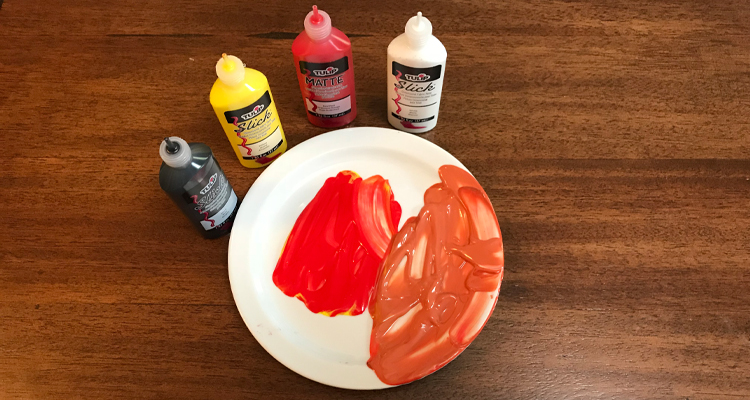
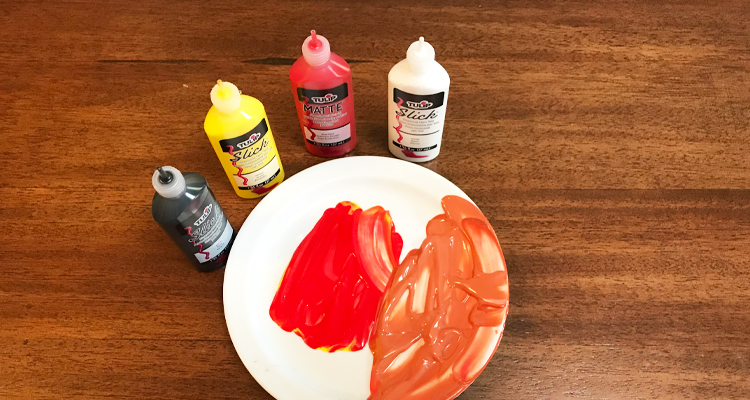
Apply Fabric Paint
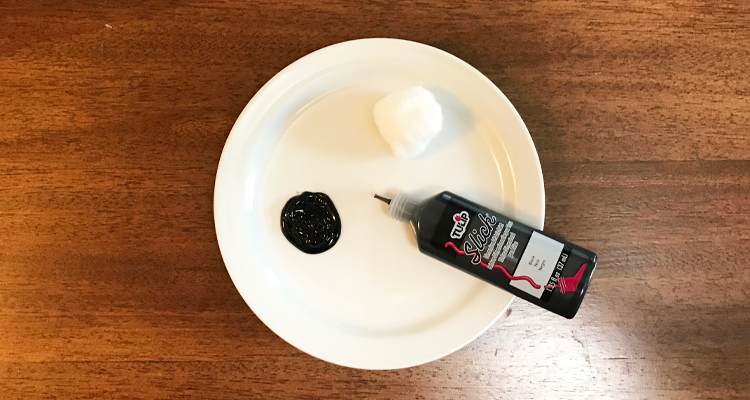
Pour a quarter size amount of black paint in a plastic artist pallet or small plate. Using a makeup sponge (or cotton ball, because I was out of sponges) dip into the paint and then onto the stencil. You could also use an appropriate size paint brush.
Work from top to bottom. This will help eliminate smudging so your hand or arm won’t end up in wet paint. Similarly, work left to right if you are right-handed and opposite if you are left-handed.
Mix together the yellow, red and black paint to achieve the right color orange. You will need to do the same thing with the green, yellow, and black for the stem.
Dry
Tempting as it may be, allow the paint to dry 4 hours before removing the stencil.
Stuff with Pillow Insert
Stuff your new fall DIY pillow cover with a pillow insert. Since I live in a small space, I rotate my pillow covers out and use the same inserts. If you need a pillow insert, this is one of my favorite.
What seasons do you like to decorate and change our your pillow covers for? I love connecting with you on Instagram. If you end up making one of these pillows be sure to share it and tag @urbancottageliving
↓ Pin It ↓